Thursday 23 February 2012

Decoupage Clock Tutorial

Well as part of the British Sellers on Etsy team I have taken part in the Team Swap- I have received an absolutely lovely brooch made by Shalotte and in return  I recycled one of my little clocks with designs that I thought she may like.  I used this as an opportunity to provide a bit of a story of the little clocks journey.


There once was a little clock that didn't work and had a dirty face.......


It's top and bottom were removed.... these clocks are assembled in much the same way- removing the feet and nuts at the top releases the top and bottom.


This allows the door and glass to be removed

Often the faces are held in place with sticky pads.  This clock didn't work so I removed the hands


and the paper face- removing the clock movement is a bit of a challenge but eventually comes away.....


the clock in pieces ready for a new life!
I added a brand new quartz movement...

I used an image from Graphics Fairy ( the front of a photo album) and placed a clock face within the image- I photocopied this .....

and added it to the clock.  I fitted the new hands....

Now it was time to start covering the clock... I used pages from books and printed images to decorate the frame.


removing the handle helps to give a clean finish to the top....


Remember to keep all the small bits safe in a little pot.....

Top, bottom and door...

Top bottom and door after revamp.....

I like to add a small detail to the handle.

Reassembled and ready for more embellishment 

The theme for this was 'Spring'- as the receiver of this gift likes Pre- Raphaelites I used pictures in this style to depict the Spring theme
I like to add detail to the base...


I added some lovely pictures to the sides and top- I used a boarder from an old book to decorate the front of the clock.

I then added a good few coats of varnish to protect the whole thing..


I added a cutting from an old dictionary to the inside of the door...

The finished item

This little metal embellishment I think adds to this little clock- I had it in a box of items  of spares for repairs - the Mucha design for 'Spring' 'Pritemps' reminds us of the Spring theme.


I hope my swap partner likes this as much as I do?????

Monday 13 February 2012

Sunday 12 February 2012

Back in blog land!

Well hello blog land!  I have missed you but been awfully busy! Dont know where time goes.  I have been busy setting up an Etsy vintage/retro shop which actually takes quite a bit of time!  I really enjoy it and have joined the British Etsy sellers team which is great fun!

Pratts Patch Etsy


I have also created a few lovely new clocks and many have found new homes!  And I have started to have a go at napkin decoupage- still a long way to go on that but it's fun!

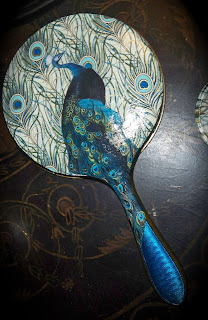
A lovely enameled mirror that was damaged and I decided to bring it back to life with beautiful peacock paper and an image from Graphics Fairy to finish off- then lovely varnish to protect it all!   


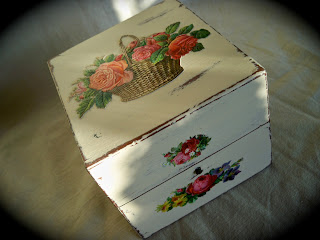
Little box that I added some vintage decoupage pictures  to and gave to my youngest sister for Christmas.  Annie Sloan and decoupage- just my thing! 
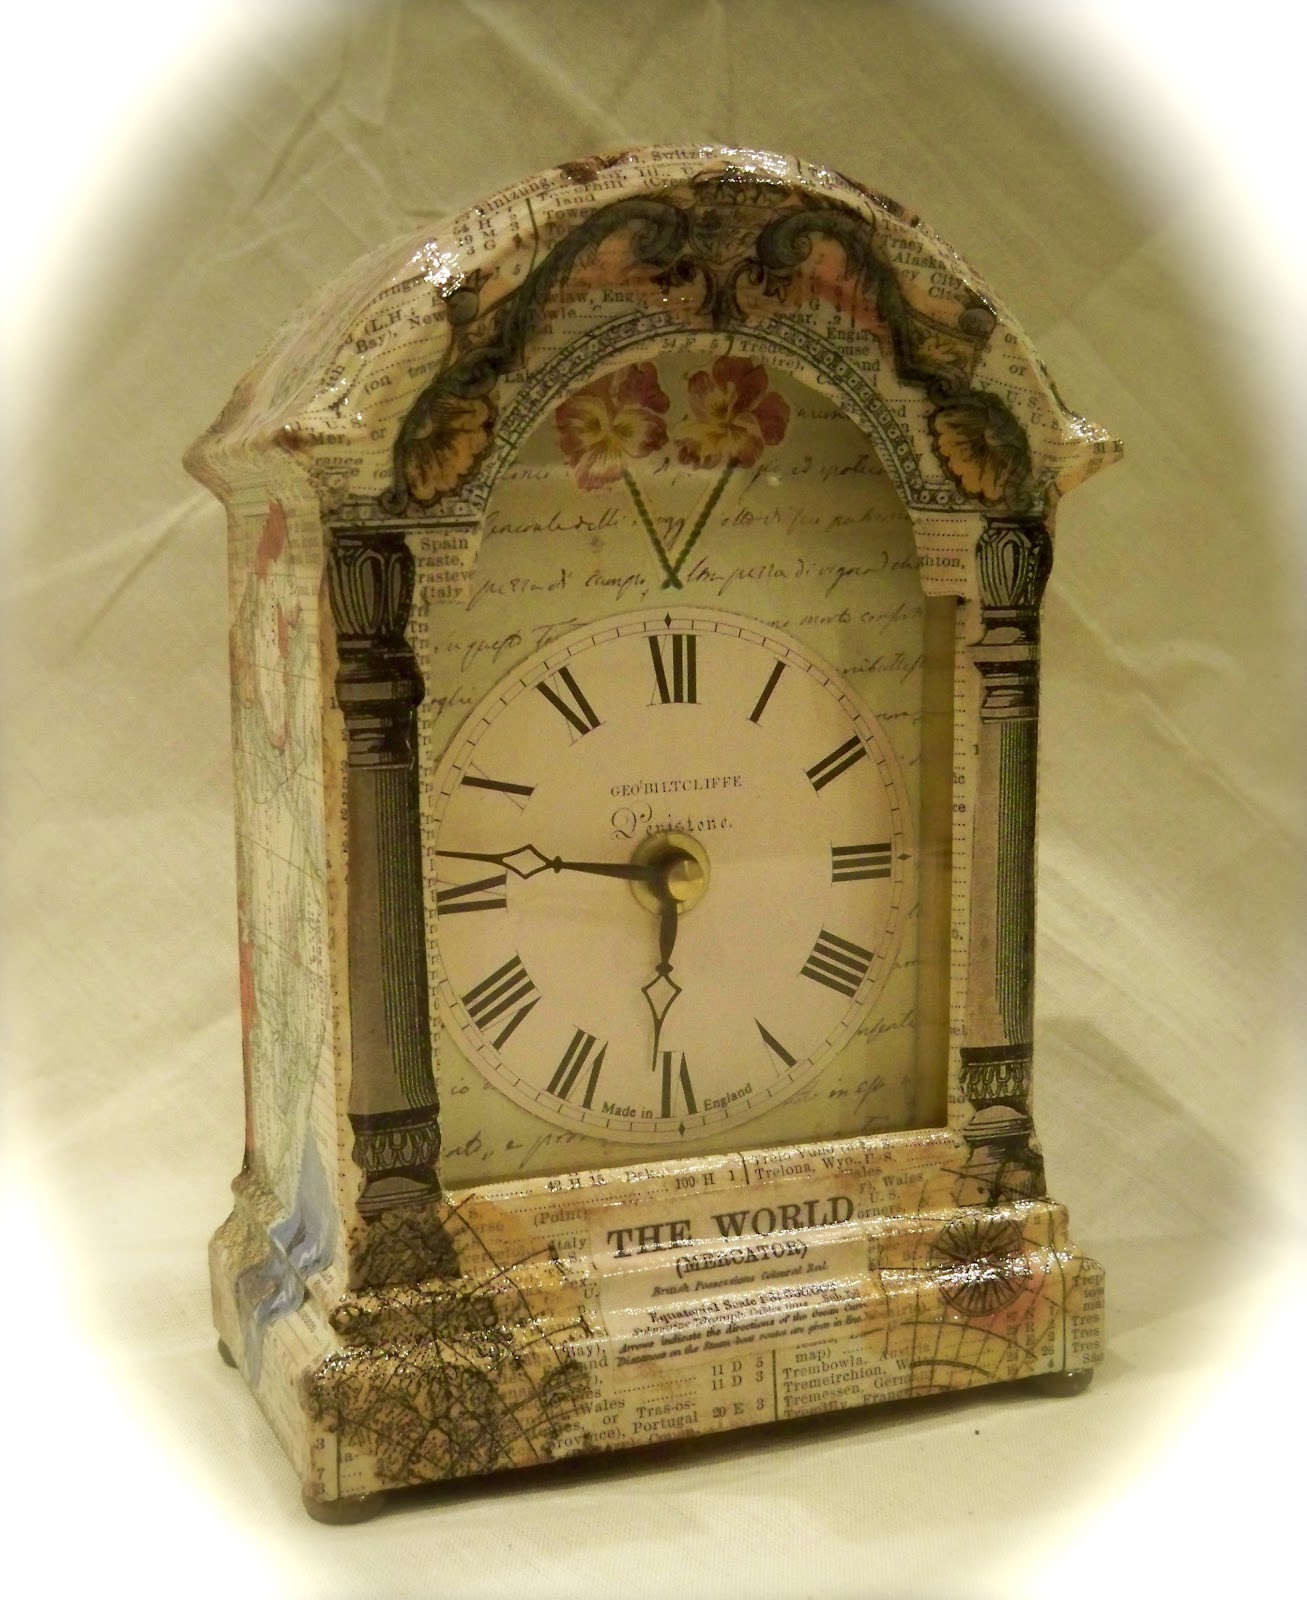
 Time zones
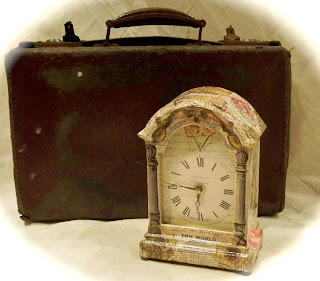
This was created with old atlas pages. The little clock was in a poor way so had to strip it back and give it some tender loving care. So happy with the end result.


This is one of my favourites! Used pages from old books and images from magazines- this sold very quickly!
 Music Lovers!
Decorated using vintage music sheets from a lovely old book - the largest clock I have done- also sold very quickly!


 Peacock beauty
Using my peacock paper again which I love so much- a darling little clock now in its new home!


 Little and large!
Tiny little clock- could only fit on small images!
 Around the world clock
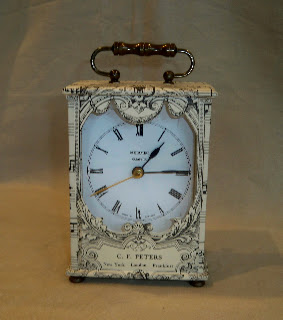
This clock was obviously a previous project  for someone- see photos below! I quickly gave this clock a new look using vintage atlas pages, napkins and Graphics Fairy images printed on vintage pages.  I varnished this clock with gloss varnish the first time I have used gloss.

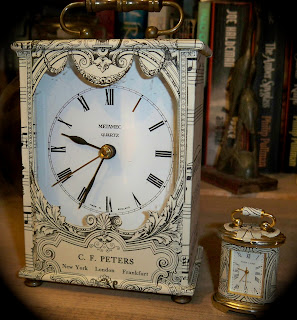
I took this clock apart completely adding decoupage to the clock face as well.


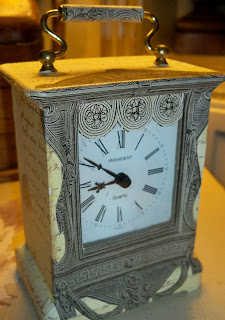
 This is the before clock below.
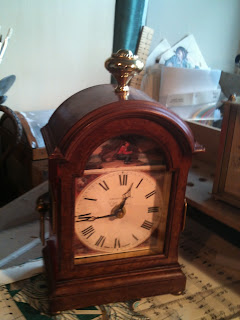
Before the work began sitting on my work desk!