Showing posts with label Cooking. Show all posts

Sunday, 10 May 2015

Voss water infusion wow!

So to continue to share some of the lovely things that I was lucky enough to get from my daughters blogger event #thecitygirls at Sheffield last month, I thought I would share with you a lovely water infusion made with a lovely artisan water.

This is a cool idea to add a splash of taste to a bottle of water.  Not any water however, but the lovely artisan water called Voss.


VOSS Water: Look Deeper

Voss artisan water is from Norway and comes in a cool bottle with a wide opening which enables the addition of a variety of fruit, sweets or vegetables such as cucumber.


The taste of the water is pure and clean as it is but adding something like fruit makes a real change and gives a bottle that just looks so cool!


So here's how I did my lovely flavour.  I chopped up some  strawberries and kiwi fruit, I then added to my bowl some raspberries, blueberries and a small amount of lemon.


I poured half of the water out of the bottle into a glass and then started posting the bits of fruit I had prepared into the bottle.


This is how it looked when I had finished adding the fruit and topped up the water.  This lovely lot went into the fridge overnight to infuse.


This is the beautiful tasting fruit infused water!

The fruit that did come out when I poured it was a lovely addition to the drink.  The remainder that was left in the bottle needed helping out and was lovely with breakfast yoghurt!


Check out #thecitygirls  who are Holly and Lorna for more blogger events!

Sunday, 12 April 2015

Gordon Ramsey's Bakewell Tart

We all love bakewell tart here at Prattspatch so when I saw Gordon Ramsey's recipe I just had to make it.  This is taken from his book Cooking for Friends .
This makes a very moist, yummy and gotta have more tart!  Best made when there are lots of visitors!


Of course the faithful Kenwood chef makes making it so much easier and more fun! 

First up is the sweet flan pastry case which is lovely and easily made in the chef.


Getting ready to bake blind.


Useful baking beans 


Then is the lovely almond topping which always makes more than the flan can hold so I tend to freeze the left over to make small pies with at a later date.  It does freeze well.


It always turns out to be a very rustic but professional look! 


Very tasty served up with homemade vanilla ice cream!


Little individual bakewell tarts.  


I use homemade  strawberry or raspberry jam to spread over the pastry case before adding the lovely layer of almond topping. 


Friday, 10 April 2015

New Kenwood Chef and Red Velvet Cake

So I was very lucky to be able to buy a new Kenwood Chef recently. I decided to go for John Lewis as the price was good, delivery excellent and after service with a good reputation.


A massive box with all the accessories arrived: 
Food processor with 6 cutting discs and a chopping blade- this has revolutionised my pastry making and coleslaw preparation!
K beater for cakes, pasta and general beating
Stainless steel whisk for whisking from 1 lone egg to 12!  
The creaming beater is great for cake making
The ThermoResist  glass blender- makes easy work of soup blending as well as smoothie making.
The dough hook for great bread making

It was so exciting to unpack each item and find out where it went and what it did! 

Instructions with each accessory helps the novice through the learning curve!

Kenwood also include a quick start cook book with some great starter recipes.  I decided to try the red velvet cake included in the book as I have always wanted to give it a go.


So I used a fluted savarin mold. I then piled lovely raspberries in the centre and added a few cute white chocolate stars.


This is a delicious, moist cake that is a great change from Victoria sponge or carrot cake.

I changed the recipe slightly from the one in the book.
For the cake:
120g butter
300g butter
2 eggs
1 tsp vanilla extract
1 tsp baking powder
1 tbspn cocoa powder
240ml of butter milk
Red food colouring (I used a small quantity of a red food colour paste)

For the icing:
600g of icing sugar
100g of butter
250g cream cheese 
2 tsp vanilla extract


Method using the Kenwood:
1. Put butter and sugar into the bowl and using the creaming beater mix on medium speed until pale and fluffy.  Add eggs and vanilla extract and mix on medium speed until combined.

2. Remove creaming beater and attach K beater, add flour, baking powder and cocoa a bit at a time, mixing on a slow speed between each addition until fluffy and well combined (it is handy to use the splash guard here to prevent dry ingredients from flying everywhere!)

3. Measure out butter milk into a jug and mix with the right amount of red colouring to give you your desired shade. Add this mix to the cake mixture in the bowl a little at a time on medium speed until you have a smooth deep red mixture.

4. Pour your mixture into your fluted savarin mold or into 2 cake tins and bake for 30 minutes or until a knife inserted into the sponge comes out clean.  Remove from the oven at this point and leave to cool.  Turn onto a cooling rack to completely cool when you are able to safely handle the cake tin.

Icing
1. Add butter, cream cheese and vanilla extract to the bowl and using the creaming beater, beat until smooth and well combined.  Gradually add the icing sugar (again the splash guard may be useful here), mix until you have a creamy icing.  Scrape the mixture into a smaller bowl, cover and place in the fridge for 30 mins.

2. Cut the cake through the middle  lengthwise and spread the bottom half with some of the creamy icing.  Place the top half back on to the creamy covered base and then cover the top with the rest of the mixture.  If you are using 2 cake tin method there is no need to cut the cake in half, just spread the top of one cake with the icing and place the other cake on top and smother the icing over the top of this. 

Rough icing is best with this cake so go for it and rough it up!!  

Finally pile fresh fruit in the centre or on top and serve and enjoy!


Have you made red velvet cake?  Is your recipe  the same?

Do you have a Kenwood or other kitchen machine?

Happy Cooking!

XXXOOOOXXXX


Monday, 6 April 2015

Marshmallow Ice Cream

So, having spent the Easter holidays with my very talented daughter I am back to my blogging!  Thank you Holly at Tea and Blush .

I have had a bag of very large marshmallows in my cupboard for a while now and
wondered what I  could do with them other than the obvious toasting and just scoffing!


Campfire-Marshmallows-Giant-Roasters


I did a bit of searching and came across this lovely blog  52 Kitchen Adventures and converted the Homemade Marshmallow Ice Cream recipe.


475ml Milk
475ml double cream
1 10oz bag of large marshmallows
2 teaspoons of vanilla extract

1. Place the milk in a large saucepan and add the marshmallows.  Warm over a medium heat whilst stirring until the marshmallows have melted.

2. Remove from the heat and cool.

3. Whip the cream until it forms soft peaks and fold into the cooled marshmallow and milk mixture.

4. Stir in the vanilla extract.

5. Place in your ice cream maker and churn until ready.

6. Put your ice cream into a freezer safe container and freeze until firm.

7.  Serve on its own for a delicate marshmallow flavour.


Or serve with mini marshmallows for a total experience!!


I would like to try toasted marshmallow ice cream next as this may have a stronger flavour.

Have you made Marshmallow ice cream?  What is your favourite recipe?

Happy creating!
xox


Sunday, 5 April 2015

Blackcurrant and Liquorice Ice cream

Afternoon all!

Long time no blog! After having my daughter helping out do some maintenance on here I thought it only right to do a post about some of the delicious icecream I've been making recently using my Cuisinart Ice cream maker. 

My love of liquorice and blackcurrant inspired me to make this- I've been wanting to make it for ages!

When investing in an ice cream machine it leads to alchemy in the kitchen when trying to create your own delicious sweet treats. 

So.. for this recipe  the two main ingredients:

 I needed to find something to give the authentic liquorice taste- a website called Allthingsliquorice.co.uk sounded like just the place to look!


Lakrids Liquorice powder- raw liquorice powder steamed,pressed and granulated Persian liquorice roots (£5.99 for 50g)


Then a whole load of home-grown blackcurrants- I've had mine in the freezer for a while.


Recipe 

375ml double cream
125ml milk
5 egg yolks
200g caster sugar
2 teaspoons of raw liquorice powder
200g blackcurrants
1 heaped teaspoon sweet liquorice syrup

This is a custard based recipe so you will need time to prepare and cool before churning.

1-Put your blackcurrants in a pan with a cup of water- simmer gently for 12-15 mins until they are soft and mushy. Remove from heat and put to one side.

2- In a seperate saucepan combine cream, milk and liquorice powder. Heat and bring almost to the boil sturring occasionally until most of liquorice has melted and the liquid is a nice brown colour. 

3. In another bowl, whisk together the egg yolks and sugar and then add the hot cream mixtutre to the bowl sturing as you go.  Return this mixture to the pan to heat further- stir constantly and bring towards boil. As soon as bubbles break the surface of the mixture remove from the heat. Put this custard mix to one side. 

4.  Take your blackcurrant mixture, now slightly cooled and press the mix through a sieve collecting the lovely juice and pulp in a bowl. 

5. Once you've collected all the blackcurrant juices and pulp add this to your cooled custard mix- cover with clingfilm and put in the fridge overmight to chill.

In the morning all you need to do is pop the mixture in your icecream machine to churn for approx 30 mins.  Once finished put into a freezer suitable dish, stir through a large teaspoon of the sweet liquorice syrup (in a marbling like effect) and then freeze.


Serve up in your fav icecream bowls and enjoy!


What ice cream flavour's would you like to try?

Do you think you'd like this flavour?

xox


Sunday, 28 July 2013

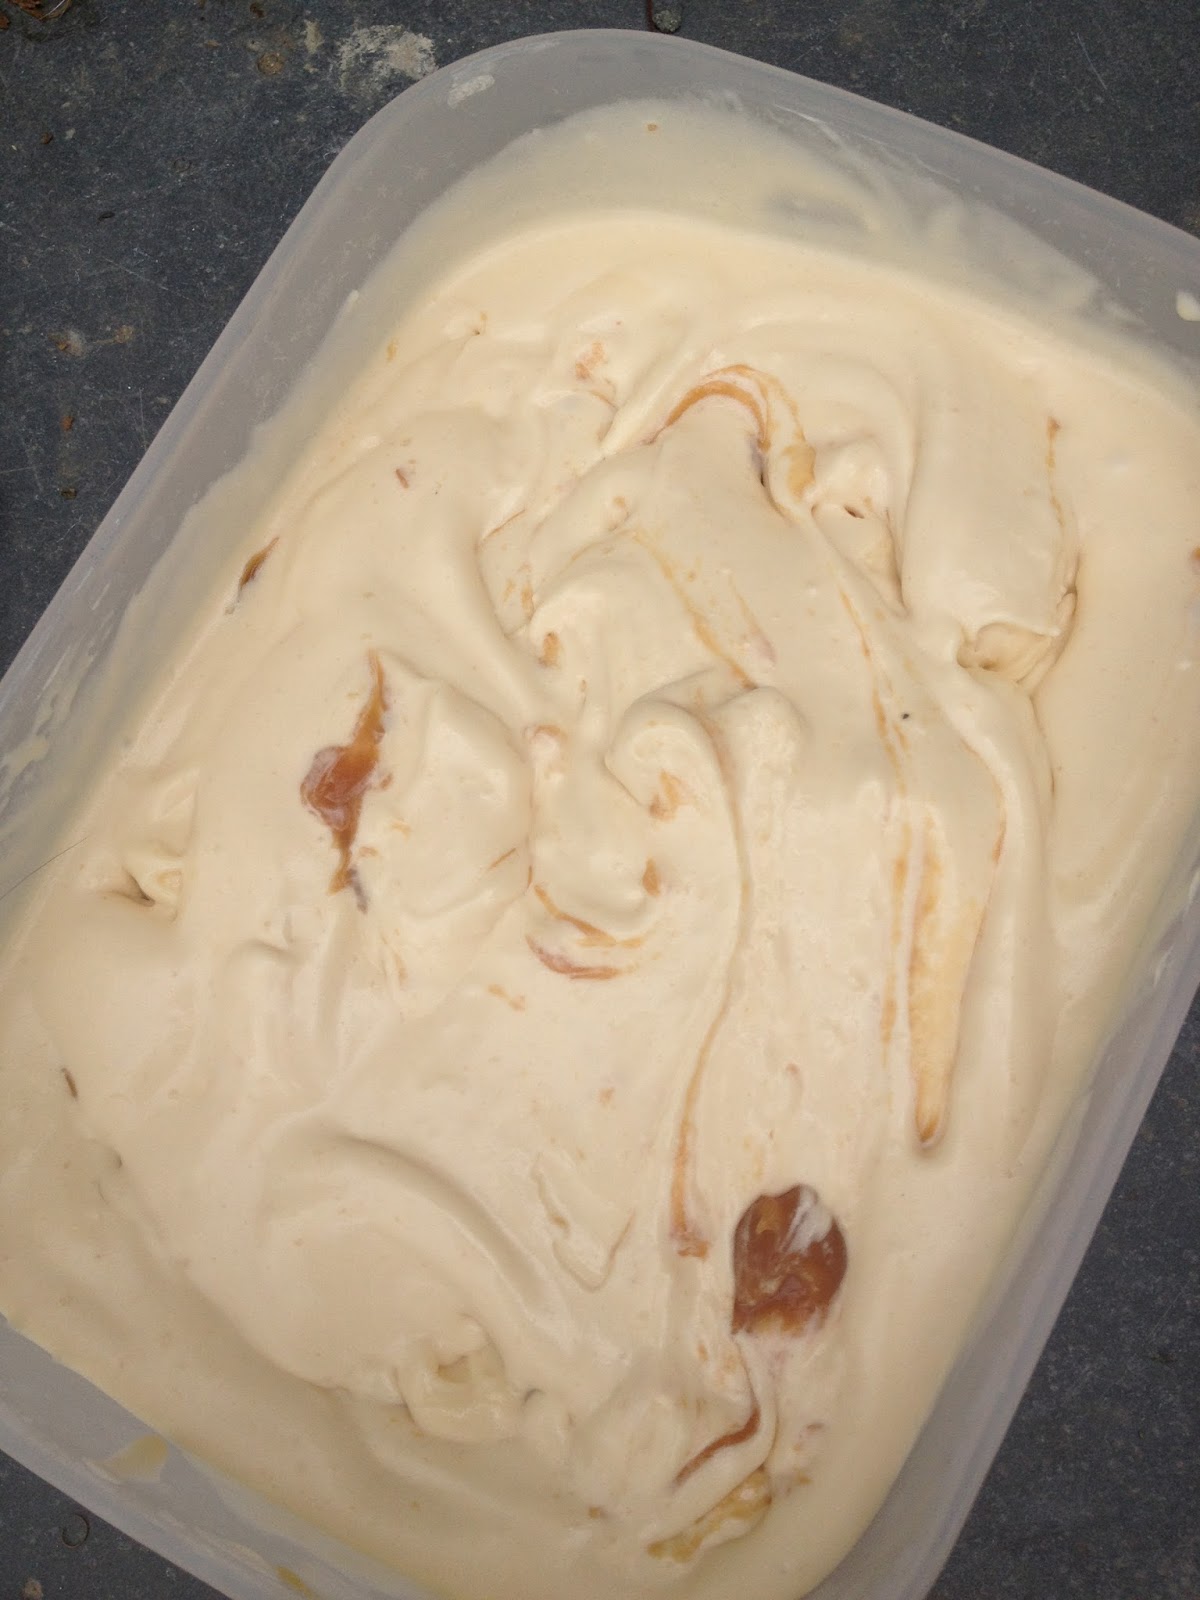
Finished and ready to eat Popcorn ice cream!

So I left the custard overnight in the fridge to completely cool.  Into the ice cream maker it went with a bit of taste testing on the way...yum yum!

Ready to go in the freezer with some lovely Taffi rippled through.


All there is to do now is EAT!!  I cannot recommend this enough if you are an enjoyer of popcorn this is just sublime!

Saturday, 27 July 2013

Popcorn Ice cream and other things!

Well I have been away from my blog for a good while now, not forgotten but just so many things to do!  I found a recipe for popcorn ice cream after seeing an advert on the TV for some and just had to share this.  I haven't yet finished making the ice cream but already it tastes amazing!

I found the recipe on the BBC Good Food website and will include it here. I was so lucky to get an ice cream maker for Christmas and have really enjoyed making all sorts of lovely flavours of ice cream.  I have become more adventurous as my successes continue too!

So this popcorn ice cream is easy to make using a custard base.  First though the corn needs popping!  As you would normally do for lovely popcorn, pop it in a pan with oil to pop. Next, pour your whole milk and double cream and a pinch of salt into a pan, add the popped corn and bring to the boil.  Turn off the heat and infuse for 1 hour.

 Next strain the milk/cream  mix through a sieve, pressing the corn to extract all the liquid and taste.  Throw the soggy popcorn away.  Now beat your egg yolks with the sugar until pale.  Heat the infused milk/cream mixture with a pinch of sea salt, allow it to boil and then pour onto the egg and sugar mixture, stirring all the time. Return the mixture to the pan and stir over a low heat for 10 mins until it thickens and coats the back of a spoon.  Cover and cool.


 When absolutely cool pour mixture into an ice cream maker and churn until the blade stops.  Now you can ripple though some caramel or toffee sauce.  Put ice cream into a container and freeze until ready to enjoy with a topping of caramel or toffee sauce.
 
This tastes amazingly popcorny and so delicious!   I like to use a Taffi sauce made locally in Pwllheli by Eboni Ac Eifori - it is so moreish!

 To find out more about this lovely sauce go to http://www.eboniaceifori.co.uk/

So ingredients:

1tbsp flavourless oil
100g raw popcorn kernels
350ml double cream
500ml whole milk
4 egg yolks
100g golden caster sugar


Our veggie patch has been amazing this year and really given us great pleasure and full tummies!  A couple of weekends ago I made a simple pavlova with strawberries and raspberries from our patch.  It was absolutely delicious- so much so I had to share with our neighbours to stop us eating the whole lot!!

We have had lots of lovely lettuce, courgettes and rocket too.  Oh and so sweet peas I do love podding and popping into my mouth!


 The best year yet for strawberries for us here in North Wales!  They have just finished providing us with sweet large fruit and today I potted the new runners so hopefully we will have even more next year!  I didn't realise how easy it was to propagate strawberries - just pop the small new plant growing on the runner into some soil in a little pot.  Once it has taken it can then be cut away from the mother plant and hey presto a new plant!!


The Patch in all it's glory!  Broad beans are beginning to harvest now and having lots of lovely yellow French beans too.  Sadly all our gooseberry plants have died- not sure why, but really sad sight.  Not sure I want to replace them so may plant the spot with some else later on.

So other things I have been up to:

Fabric decoupage- post to come later with a mini tutorial if anyone is interested!

More sock knitting and dishcloth crocheting!

Sunday, 18 September 2011

Macaron...

So here they are,
vanilla shells with raspberry filling
and red shells with the same filing...oh so lovely!

I used dried raspberry powder in the filling which is butter cream and icing sugar.  The powder has no additives and the colour is so lovely- the taste... hmm just right!


Lovely Weekend, Abergavenny Food Festival

http://www.abergavennyfoodfestival.com/

What a great weekend this was, well day- we spent the day eating our way around lots and lots of stands selling their lovely foodie goods!!  Of course I hurried to the cheese Macaron?!?! yes you heard (read) it right!  Small little gems, £1 each!!!  No tasters before you buy!  So I gave a pound and had hazelnut  with goats cheese- ok but very strange having cheesy macaron- will stick to my gorg sweet ones- of which I have enjoyed today actually- photos to follow really!


So we had a couple of tipples too which made the day just so lovely.  And then spent time listening to a lovely group.
http://www.littlerumba.com/


Fun was had!!!

Wednesday, 14 September 2011

More Macarons.....

Tried again with my mums recipe as it worked well for me last time- see past posts!

Made red and white.  the white are not pure white a tinge of brown but will be vanilla flavour when filled so thats ok I think.  Some of the pink ones cracked, these were on a different baking sheet to all the others, one with holes in so won't use that again!

Will post pics of the filled ones when done.  these are going to go to the village hall for the village sale this weekend!

Tuesday, 23 August 2011

The Macaron story continues......

Well folks after a wonderful start to Macaron making things went pear shaped (or none Macaron shaped!!) various techniques, books, blogs later could not explain my problem - flat, empty, soggy, no feet, would be macarons!! Lots of ground almond and egg white later I decided to contact my mum!!!! And what a success that was- again my search for macaron heaven came true!

Now my quest is ended- I may try again some time!!
Thanks Mum!


Tuesday, 16 August 2011

Macaroons!

Well after Lewis bringing home (yes his month in Europe did go quickly!)  a lovely book- Irresistible Macaroons- what could I do but make some!!


Not perfect by a long shot but lovely!  I really like this book as there are 10 steps to follow to making them with a good trouble shooting section if needed!  Lengthy to make, yes, expensive yes but lovely YES!! oh and where have they all gone ?
Lovely B&Q staff are my taste testers- yes Gary took most of them to work!!!  Saves the waistline here I suppose! Maybe I will try some more for the village hall sale this weekend- what flavour?  Hmm maybe yellow with my lovely home made Lemon Curd...off I go then.....

Sunday, 19 June 2011

Gooseberry & Elderflower Champagne Jam


Hmm after a gooseberry and strawberry cobbler I decided to make jam and added some of my delicious elderflower champagne!  The champagne is lovely- lots of bubbles and a lovely taste.  The jam - waiting to try!!!